
The Layering System
Hello everyone! Welcome to the second tutorial, I hope you learn a lot!
In this second lesson, we will shed light on the most important tool a mapper has available to him or her: the layers. I'll cover how to use them, what to look out for, and layer splicing; maybe I'll include a few tips at the end.
The location of the layer buttons is highlighted below. Clicking these individual buttons sends you to the layer associated with them. The first button is layer one, the second is layer two, the third is layer three, and the last one is the event layer. The orange card in the stacks represents which layer the button is associated with.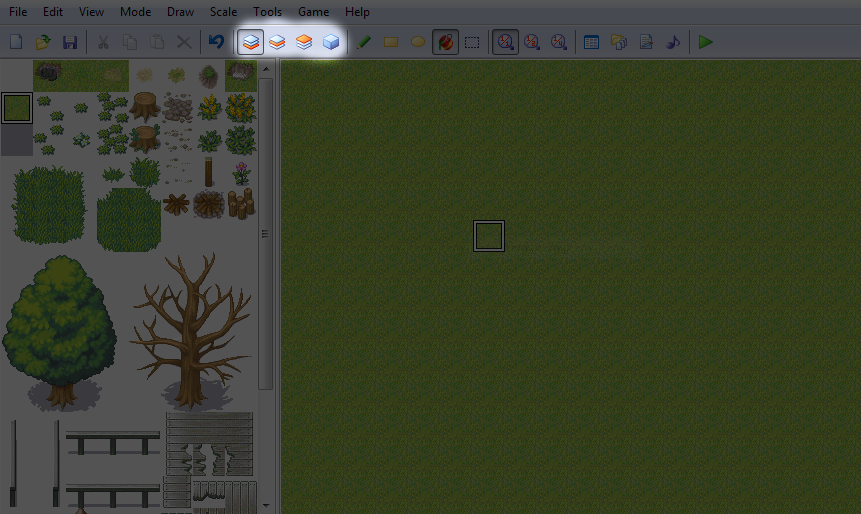
If you go to layer two, all tile-set pieces on layer one will be covered with a film of shade, and the same goes for layer 3. All tile-set pieces that are placed on a layer above the one you are currently viewing are only 50% visible. The event layer shows all the layers combined. (The event layer has way more uses than that, but that won't be covered in this tutorial.) Take a look below.
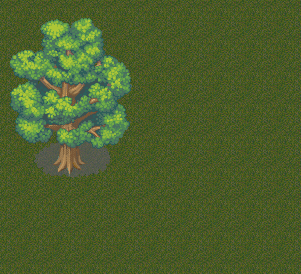
Layer 1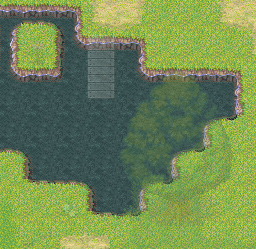
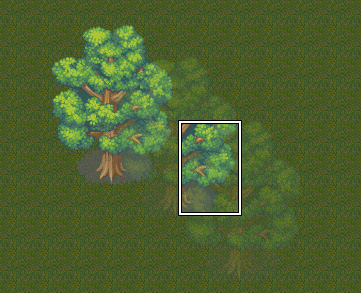
Layer 2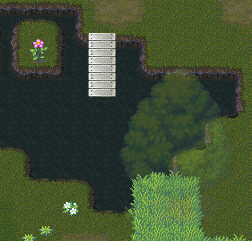
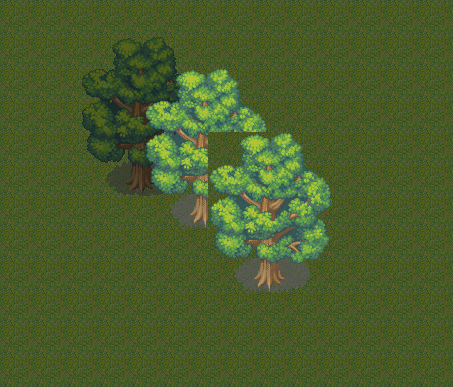
Layer 3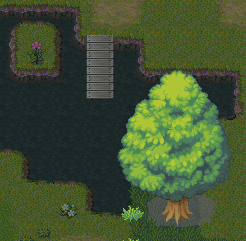
As you can see, all three pictures are of the same thing, except they are different:
 In the first picture, the path, grass and water tiles are clearly visible. This is because they have been placed on the first layer, and we are currently looking at the first layer.
 In the second picture, the bits of vegetation and the bridge are visible. These are placed on the second layer.
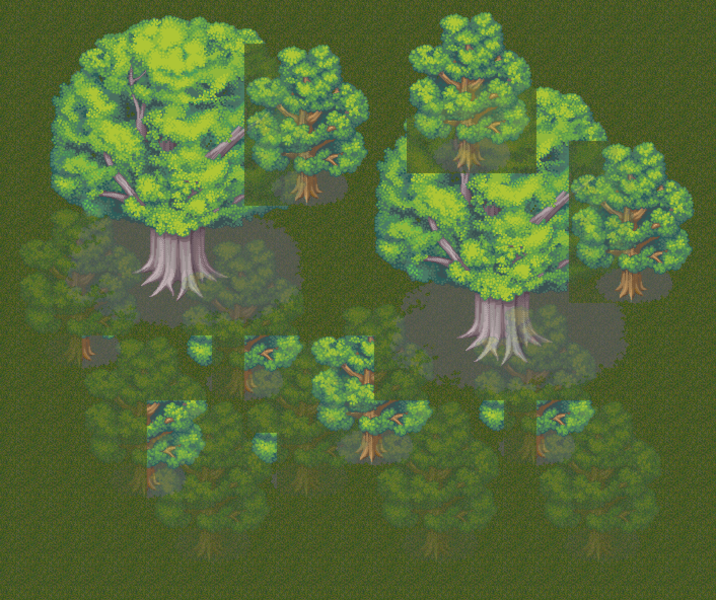
 In the third picture, the tree and the grass cosmetic tiles (more on those later) are clearly visible. These are placed on the third layer.
In a lot of mapping tutorials around the web, you may find rules as to what things go on which layers. This is true to a certain extent. When you first start out mapping, you can follow the layer guidelines below, but once you acquire more skill in the ways of mapping it's actually better to place things conveniently. It may be easier for you to place a tree on the second layer even when it would normally go on the third. Maybe you want some water on the third layer so that you can have a different terrain underneath it. All these things are reasons for why you should develop your own order of mapping. For now you can just go with this:
Layer #1: The first layer is used mainly for terrain. Tiles like grass, dirt and sand are used here. This layer is the foundation of your map. Also most auto-tiles are used on the first layer as well.
Layer #2: The second layer is for your general objects around the map. This layer will comprise of the main features of your map. Stumps, flowers, rocks, stalagmites, chairs, cliffs, lamps; they all go on this layer. If there is room, your extra trees and the windows of houses etc. go on this layer, but they are usually saved for...
Layer #3: The third layer is the blanket of your maps. This is where your overlapping trees (Trees whose leaves cover the leaves of other trees to simulate a forest-y affect), the windows of houses, the overlapping cliff tiles and cosmetic tiles of the map all go. These all go on the third layer of your map, and they basically are adding to the tiles on the second layer.
You now probably have a good understanding of how layers work. They really will become your best friend, and you will eventually be begging for more. The reason there aren't an infinite amount of layers is so that you don't bulk up the size of your game. Granted, RPG Make XP is an old system, and most people have close to a terabyte of space for storage, but it would also really complicate your maps to have a dozen layers. It would also be really awesome! There's also the issue of memory (not to be confused with storage space); things could get really laggy if your computer isn't packing lot's of memory. So we only have three layers. That's not too bad, right?
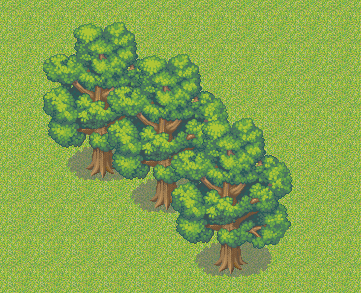
Now try playing around with layers if you haven't already. Try putting plants under trees and things like. After a while, you will probably come across a slight problem:
You've run out of layers for your trees!


Thank you very much, helped me alot.
94 Posts
621 Points
I do layer splicing all the time! xD
It really helps me make intricate maps.
5,396 Posts
3,746 Points
Try not to make posts that don't contribute to the topic at hand on content that hasn't been active a long time.