Preview
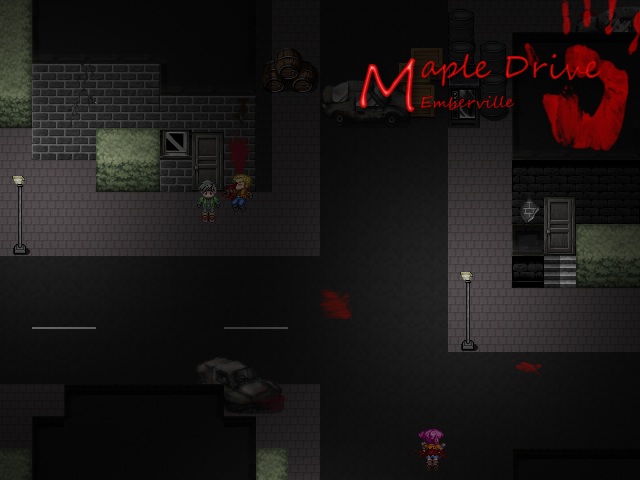
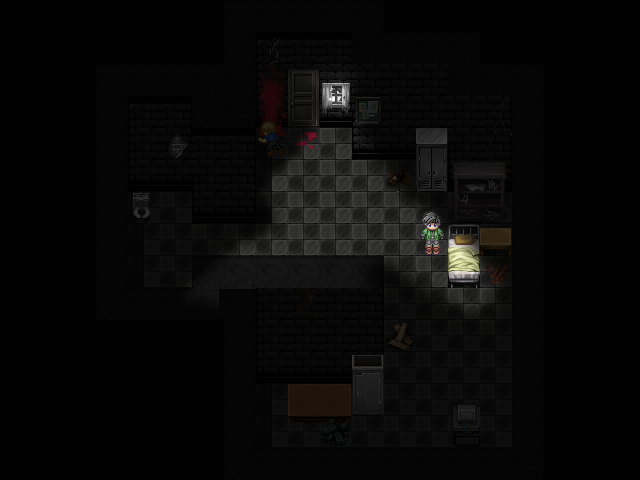
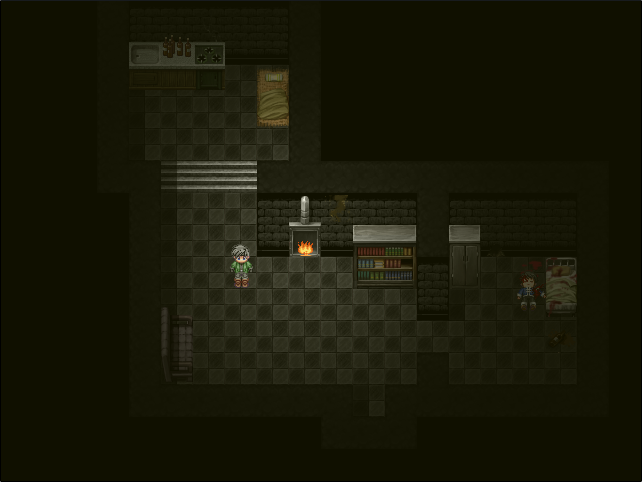
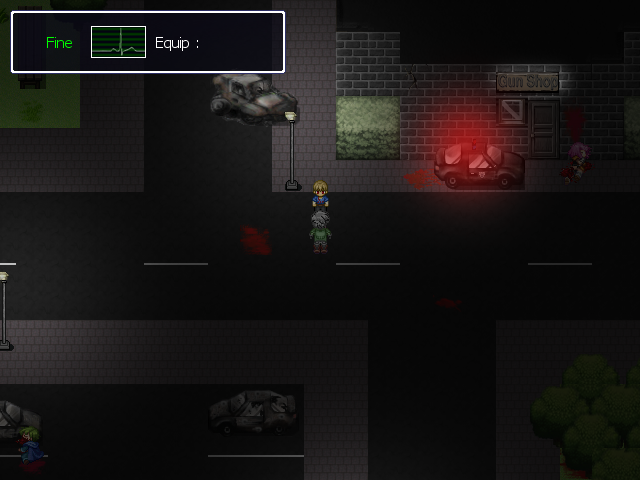
The following screenshots are a few images from my game, Hope Afloat, and it'll show you what you can do with Cosmetic Fog Layers.

This tutorial will teach you how to add custom lighting effects to maps without requiring any scripts. For this tutorial, you will require Photoshop (or the equivalent), and a decent understanding of both RPG Maker XP and the graphics program you'll be using.
The following screenshots are a few images from my game, Hope Afloat, and it'll show you what you can do with Cosmetic Fog Layers.
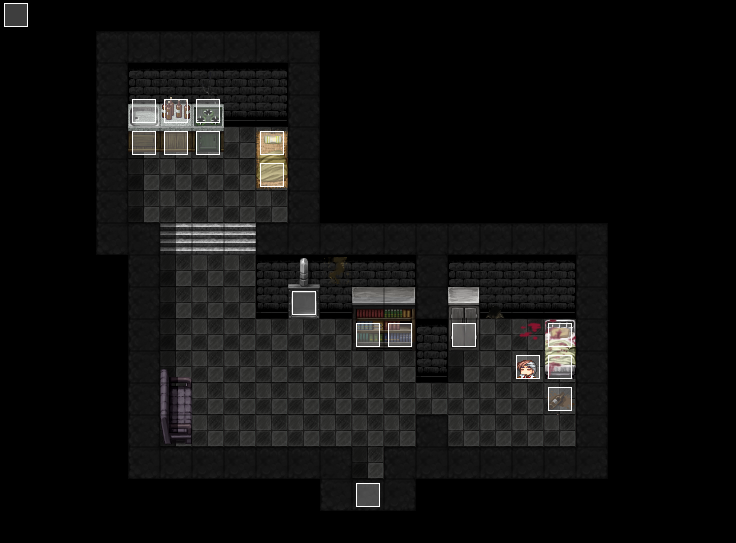
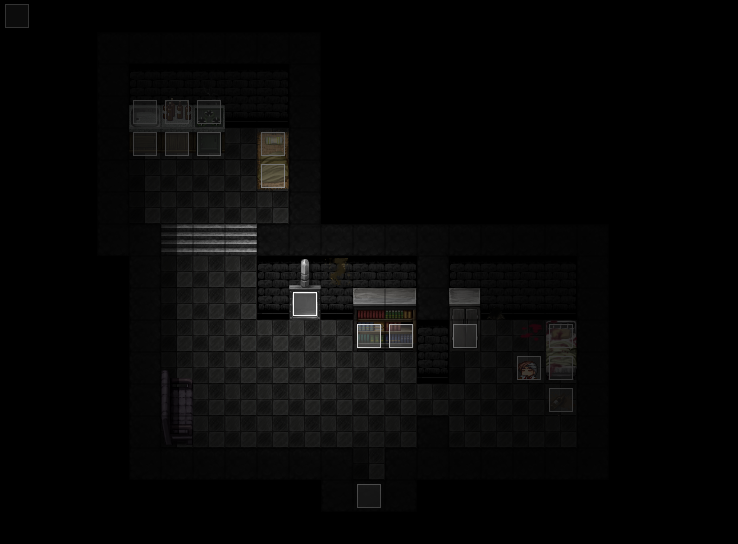
So, for the first step, we're going to want to take our map, whatever map we want to CFL, just straight out of the editor with the Print Screen function. So, print screen that to your graphics program, and trim it so that you got it trimmed exactly, with nothing sticking out. You should have an image which is 640x480 pixels now. For this tutorial, I'll be using one of the example maps above.
So, once you crop your map out of the editor, it should look like this:
Open up Photoshop, or your equivelant, and open your tiled image. You're going to want to make a new layer above it, and use the fill tool to make it completely black. That's right, so you can't see anything. Now, with that done, start messing with how dark you want your room by changing the opacity. Usually anywhere between 50% and 85% is good, anything above that is practically unseesable. Now, with this done, grab the eraser and select a circular brush that has a large fade-out, not just the circle brush. This is to give it a nice fade-out effect. You can adjust the size to suit your need, then erase a section, with the centre on the source of the light. You can always much around with this, and make shapes, like in Example 1, but, for this simple tutorial, just a circle.
So now, in photoshop, it should look something like this:
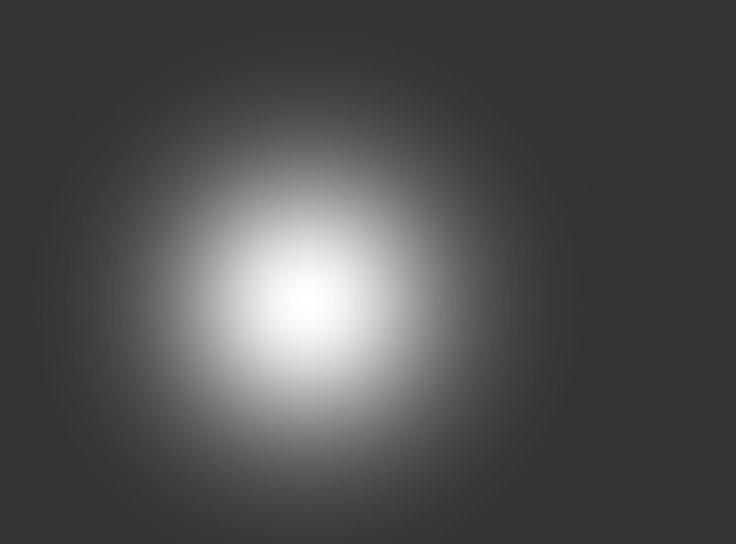
This step is incredibly easy. Delete the bottom layer, your map (or just hide it, whichever you prefer), so that the only layer left is your top layer, which makes the light. Now save it, and your should look something like this when viewed outside of Photoshop (because of transparencies and such):
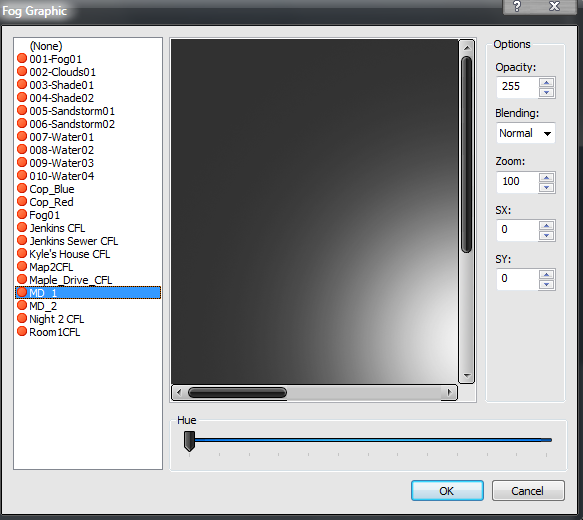
Okay, so, this is the step where we add it to RPG Maker XP. Import it into the fogs folder, and make a new event, set to Parallel Process. Add the Event Command "Change Map Settings", and under fog, use the following settings for your fog:
And that's it, now you have lighting on your map. It's best to save your game and test it out, now; make sure the lighting looks as it did in Photoshop and that everything works fine. If it seems off, then try the tutorial again. Most of the odd occurrences you'll get is from the settings in the Change Map Settings event.
I hope you guys found this tutorial useful. I'll be writing another CFL tutorial when I have the time for some more advanced things you can do. Until then, take it easy.
~Tomo2000.

Man, I should have updated this AGES ago... My name is Tom, teh Zombeh Masteh and Awesome Eventing person. As you may know, I am a zombie addict. I'm making... umm... 1, 2, 3, 4... Quite a few games, most are zombie games. I'm much more than your ordinary person. I believe strongly in the possibility of a zombie apocolypse.

© 2006 - 2024 Game Development Unlimited.
Proudly in service for 17 years, 6 months, 3 weeks, 2 days.
No Comments